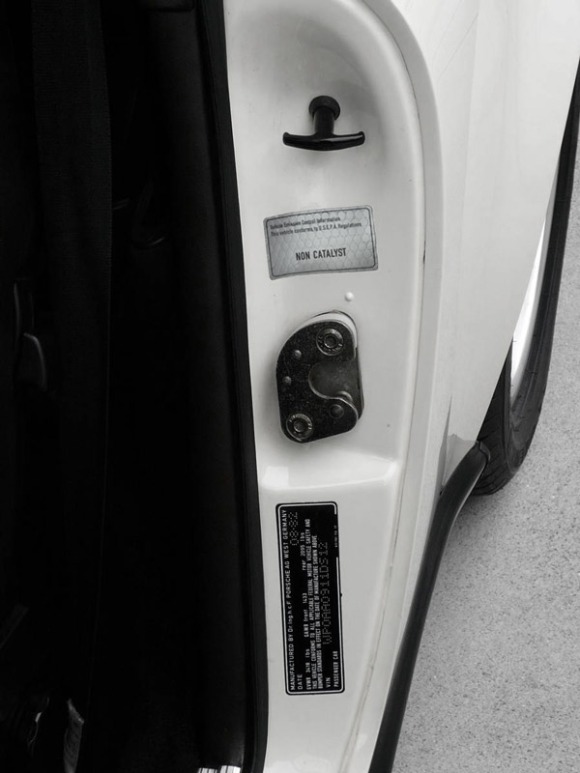
Please read carefully before applying decal!
Preparation:
1) Make sure your hands are clean and dry.
2) Make sure you have good visibility. Bright lighting is recommended. If you have reading glasses – use them!
3) Clean the area where the decal is to be applied. If possible, first clean with a de-waxing agent, then clean with warm soapy water. This area should be dry and clean of all oils, waxes, dirt etc.
4) Carefully plan decal location. Using two pieces of masking tape to guide positioning can be helpful.
5) Have on hand an X-Acto knife or utility knife for small adjustments.
Application:
Until the decal is adhered to the car it is very fragile! The decal has been cut into many small circles by the circle pattern stamp. On the top of the decal is a temporary clear transfer layer to keep the decal in one piece. Do not remove this top clear transfer layer, yet!
6) First remove wax-paper backing and apply decal to car. Burnish with plastic card (credit card works well).
7) By pulling color tab, slowly remove clear transfer layer. Carefully watch that no decal circles are stuck to transfer layer. Use a razor blade to carefully pick up and place any circles on to car.
8) Lay wax-paper face down on top of decal and burnish decal again with card. Slight air bubbles will disappear in a couple days. Air bubbles can be released by carefully pricking bubbles with sharp needle and burnishing as above.
9) The decal is shiny and new. It will dull down with a little time.
Any questions please email us at decalrestore@gmail.com
Get in and go for a drive!
Decal Restore


1988 911
